Monday, October 28, 2019

3D Logo - Practice

Created a 3D logo in Illustrator using 3D effects and gradient fills for the background.

notes:
-Graphic styles aren't talked about too much online with Illustrator. Love the functionality it brings in editing pre-defined strokes. and fills. Dynamic for quick solutions in getting something 3-dimensional.

Sunday, October 27, 2019

Properties Panel

The Properties panel in Illustrator lets you view settings and controls in the context of your current task or workflow. This panel has been designed with ease of use in mind, ensuring that you have access to the right controls when you need them.


SOURCE:
https://helpx.adobe.com/illustrator/using/properties-panel.html

Selection Options

There are an incredible amount of ways in selecting your objects inside illustrator. I think it is essential for everyone to wrap their heads around each one so, that they can develop a routine in knowing which one works better for a particular task at any given moment while on the job. These are the definitions for each one. For me, the save selection option is still my favorite since, it is really convenient to name selections when scenes get really complex. Unlike Photoshop, Illustrator's layers panel is sort of click-sensitive in my opinion. It's going to be a lot easier and more professional when finding alternative selection methods in order to speed up the workflow and so that clients are the given the results promptly.

Flashcards:
https://www.cram.com/flashcards/memorize/illustrator-selections-11043582


Isolation Mode

Lets you quickly isolate a layer, sublayer, path, or group of objects, from all other art in your document. When in isolation mode, all nonisolated objects in the document appear dimmed and are not selectable or editable.

Layers Panel

Lets you quickly and precisely select individual or multiple objects. You can select a single object (even if it’s in a group), all objects within a layer, and entire groups.
Selection tool

  Lets you select objects and groups by clicking or dragging over them. You can also select groups within groups and objects within groups.

Direct Selection tool

 Lets you select individual anchor points or path segments by clicking on them, or select an entire path or group by selecting any other spot on the item. You can also select one or more objects in a group of objects.note: When in outline mode, the Direct Selection tool may select imported graphics that are near the tool’s pointer. To avoid selecting unwanted graphics, lock or hide the graphics before making the selection.

Group Selection tool

 Lets you select an object within a group, a single group within multiple groups, or a set of groups within the artwork. Each additional click adds all objects from the next group in the hierarchy.

Perspective Selection tool

Lets you bring objects and text in perspective, switch active planes, move objects in perspective, and move objects in perpendicular direction.

Lasso tool

 Lets you select objects, anchor points, or path segments by dragging around all or part of the object.

Magic Wand tool

 Lets you select objects of the same color, stroke weight, stroke color, opacity, or blending mode by clicking the object.

Live Paint Selection tool

 Lets you select faces (areas enclosed by paths) and edges (portions of paths between intersections) of Live Paint groups.

Selection commands

(located in the Select menu) Let you quickly select or deselect all objects, and select objects based on their position relative to other objects. You can select all objects of a specific type or that share specific attributes, and save or load selections. You can also select all objects in the active artboard.

Save Selection


Allows you to save a selection of objects by naming the selection, and returning to it upon after clicking select > [name].


SOURCE:
https://helpx.adobe.com/illustrator/using/selecting-objects.html

OpenType Fonts

OpenType fonts use a single font file for both Windows® and Macintosh® computers, so you can move files from one platform to another without worrying about font substitution and other problems that cause text to reflow.

Ligatures - Text

Ligatures are typographic replacement characters for certain letter pairs.

Contextual alternates are alternate characters included in some script typefaces to provide better joining behavior.

A stylistic set is a group of glyph alternates that can be applied to a selected block of text.

Window > Type > OpenType to open the OpenType panel. Now, do one of the following:
Click the Stylistic Sets icon () at the bottom of the panel and choose the desired set.
Select Stylistic Sets from the panel menu and choose the desired set.


SOURCE:
https://helpx.adobe.com/illustrator/using/special-characters.html#use_ligatures_and_contextual_alternates

Simplify object to reduce anchor points while retaining the shape

Object > Path > Simplify.


Simplify path


SOURCE:
https://helpx.adobe.com/illustrator/using/editing-paths.html


Good analogy: adjusting subdivision levels for polygons in a mesh when 3d modelling an object in ZBrush. This instead is 2D and the simplify option helps organizes line segments by offering less to work with.

Graphs in Illustrator

Bar Graph
Stacked Bar Graph
Column Graph
Stacked Column Graph


Pie Graph
Radar Graph


Area Graph
Line Graph
Scatter Graph


Hotkeys for graph data:

A Entry text box Enter the data
B Import data Import data saved as a text file
C Transpose row/column
Switch the columns and rows of data
D Switch x/y
Switch the x and u axes of graphs
E Cell style
Adjust the column width or decimal precision of cells
F Revert Revert the changes you've made in the graph data
G Apply Apply the changes you've made in the graph data


Bridging between Excel and Illustrator:

Copy data from a spreadsheet and paste it in the Graph Data window

Copying data from a spreadsheet in excel and pasting into the top left corner of the data table in Illustrator

Bar Graphs in Illustrator. Enter numbers to form size of bars in each column.


SOURCE:
https://helpx.adobe.com/illustrator/using/graphs.html


Adobe Connect

-user desktop sharing
-meeting
-sharing templates
-presentations
-learning modules
-conferencing

Symbol Sprayer

The Symbol Sprayer acts like a particle sprayer—letting you add a large number of identical objects to the artboard at one time. For example, use the symbol sprayer to add hundreds of grass blades, wildflowers, bees, or snowflakes.


SOURCE:
https://helpx.adobe.com/illustrator/using/symbolism-tools-symbol-sets.html


Good Analogy: CC particular in After Effects. Particle system generator that allows user to easily generate particles while adding unique effects for an animation.

Symbol Spinner

Click or drag over the symbol instances you want to stain with the colorization color. The amount of colorization gradually increases, and the symbol instance’s color gradually changes to the colorization color.


Hold down Alt (Windows) or Option (Mac OS) as you click or drag to decrease the colorization amount and reveal more of the original symbol color.

Hold down Shift as you click or drag to keep the colorization amount constant, while gradually changing the color of the symbol instances to the colorization color.

Symbol Shifter

-Changes stacking order of symbol instances in a set


To move symbol instances, drag in the direction you want the symbol instances to move.

To bring symbol instances forward, Shift-click the symbol instance.

To send symbol instances backward, hold down Alt (Windows) or Option (Mac OS) and Shift-click the symbol instance.

SOURCE:
https://helpx.adobe.com/illustrator/using/symbolism-tools-symbol-sets.html

Symbol Styler

The Symbol Styler tool lets you apply or remove a graphic style from a symbol instance. You can control the amount and location of the application. For example, you can apply a style gradually so that some symbol instances display the style at full strength and others display the style at partial strength.


SOURCE:
https://helpx.adobe.com/illustrator/using/symbolism-tools-symbol-sets.html

Symbol Scruncher

Click or drag in the area where you want to pull the symbol instances toward each other. Opposite to this is click+alt+drag and it will reversibly push outward. Sort of works similar to the bloat and pluck tool in how it pulls inward and pushes outward.


Hold down Alt (Windows) or Option (Mac OS), and click or drag in the area where you want to push symbol instances away from each other.

Symbol Stainer Tool

Click or drag over the symbol instances you want to stain with the colorization color. ...


A symbol set is a group of symbol instances that you create with the Symbol Sprayer tool. You can create mixed sets of symbol instances by using the Symbol Sprayer tool with one symbol and then using it again with another symbol.

Staining a symbol instance changes the hue toward the tint color, while preserving the original luminosity. (It works in the same way as the Tints and Shades colorization method of tinting brushes.)


SOURCE:
https://helpx.adobe.com/illustrator/using/symbolism-tools-symbol-sets.html

Symbol Screener

-Click or drag where you want to increase the symbol’s transparency.

Hold down Alt (Windows) or Option (Mac OS), and click or drag where you want to decrease the symbol’s transparency.


SOURCE:
https://helpx.adobe.com/illustrator/using/symbolism-tools-symbol-sets.html

Flash Catalyst

FXG - document profile
FXG is a graphics file format based on a subset of MXML, the XML-based programming language used by the Flex framework.
You can use FXG files in applications such as Adobe Flash Builder/Adobe Flash Catalyst to develop rich Internet applications and experiences.

SOURCE:
https://helpx.adobe.com/illustrator/using/fxg-format-cs5-5-cs6.html

Screen modes to access menu bar

Normal Screen Mode  displays artwork in a standard window, with a menu bar at the top and scroll bars on the sides.
Full Screen Mode With Menu Bar  displays artwork in a full-screen window, with a menu bar at the top and scroll bars.

plug-in modules

plug-in modules are features are software programs that add features to Illustrator

Pixel alignment

Pixel alignment is usually needed for video resolution rasterization control

RGB Colors - Additive Colors

RGB colors are called additive colors because you create white by adding R, G, and B together—that is, all light is reflected back to the eye. Additive colors are used for lighting, television, and computer monitors. Your monitor, for example, creates color by emitting light through red, green, and blue phosphors.

SOURCE:
https://helpx.adobe.com/illustrator/using/color.html

Color in digital graphics

 A color space is a variant of a color model and has a specific gamut (range) of colors. For example, within the RGB color model are a number of color spaces: Adobe® RGB, sRGB, and Apple® RGB. While each of these color spaces defines color using the same three axes (R, G, and B), their gamuts are different.

test notes

live paint bucket tool - live paint bucket

Hue
Color reflected from or transmitted through an object.

Saturation
Strength or purity of the color (sometimes called chroma). Saturation represents the amount of gray in proportion to the hue, measured as a percentage from 0% (gray) to 100% (fully saturated). On the standard color wheel, saturation increases from the center to the edge.

Brightness
Relative lightness or darkness of the color, usually measured as a percentage from 0% (black) to 100% (white).

Saturday, October 26, 2019

Gaining accuracy in Image Trace

SOURCE:
https://www.creativebloq.com/illustrator/edit-drawings-image-trace-5132576


Illustrator - Selecting more than one layer in the layers panel

Screen Shot 2012-09-26 at 12.53.00 AM.png
Screen Shot 2012-09-26 at 12.53.25 AM.png

SOURCE:
https://community.adobe.com/t5/Illustrator/How-to-select-multiple-objects-in-the-layerpanel/td-p/4438170

-By locking a selection of layers it allows for an easy go-back-to when editing others that are unlocked. it doesn't necessarily make for an easier experience for making consistent layer selections overall, but it at least serves as a solid workaround for selecting more than one layer in the layers panel. save selection feature is still the strongest one in quickly assigning multiple layers a selection. Illustrator still doesn't have what Photoshop has in selecting and transforming by shift+clicking more than one layer. Or, functionality of selecting layers is made way easier in Photoshop. This apparently was different with Illustrator so that users could easily use the alt-click feature to copy/paste objects and not have the shift+click selection interfere. There are too many layers in Illustrator though, and selection is hugely important. Selection should be a big focal point for the user when working around Illustrator's weak points. And, this is one of them.

Creating 3D Objects

Source:
https://helpx.adobe.com/illustrator/using/creating-3d-objects.html


-2 ways: either extrude or revolve
-Map art - starts from the inside and goes to the outside with surfaces.
-Maps have to be in the symbols library

Adobe Flash Catalyst discontinued (CS5.5)

Adobe Flash Catalyst Creative Suite 5 made creating Flash web sites or desktop applications easy. You can start by creating your design in Photoshop or Illustrator and importing the resulting file into Catalyst. Then, you can do the following: Create buttons that change while the user hovers the mouse cursor over them or clicks.


SOURCE:
https://www.adobe.com/products/flashcatalyst.html

Use actions to automate tasks in Illustrator

-an action is a series of tasks that you play back on a single file or a batch of files—menu commands, panel options, tool actions, and so on. For example, you can create an action that changes the size of an image, applies an effect to the image, and then saves the file in the desired format.


-you can’t record commands in the Effects and View menus, commands that display or hide panels, and use of the Selection, Pen, Paintbrush, Pencil, Gradient, Mesh, Eyedropper, Live Paint Bucket, and Scissors tools.

Tools panel

The tools panel is where you will be selecting your tools in Illustrator.

Text Tools

Area Type Tool
-click on shape; shape is ready to accept text


-Type on a Path will create type along the outer edge of an open or closed path.
-Lorem ipsum is a Placeholder text that Illustrator generates automatically
-Area Type will show a bounding box and ports all the time.
-Area Type creates type that is inside an open or closed path.
-Type on a Path will create type along the outer edge of an open or closed path.
-Vertical Type works like the Type tool except the type is vertical.
-Vertical Type Area works like the Area Type tool except that it is vertical.
-Vertical Type on a Path works like the Type on a Path tool except it is vertical.


FLASHCARDS:
https://www.cram.com/flashcards/illustrator-type-11033381


SOURCE:
https://design.tutsplus.com/tutorials/working-with-the-area-type-tool-in-adobe-illustrator--cms-20712

SOURCE:
https://www.universalclass.com/articles/computers/adobe/illustrator/how-to-work-with-type-in-adobe-illustrator.htm

Save Artboards as separate files


with multiple artboards, we can save each artboard as a separate file.


SOURCE:
http://www.adobepress.com/articles/article.asp?p=1928525&seqNum=6

Default Resolutions for Each Profile

Print

width: 612 pt
height: 792 pt

Web

width: 960 px
height: 560 px

Devices

i.e. iPad

width: 768 px
height: 1024 px

Video and Film

i.e. NTSC widescreen

width: 873 px
height: 480 px

Basic RGB

width: 960 pt
height: 560 pt

Flash Builder

width: 800 px
height: 600 px

Crop Marks VS Trim Marks

Crop marks being used as live effects. Effect > Crop Marks

  • Marks that are used to apply for marking where document trim marks are
  • Crop marks should not be used on bleed corners


Trim Marks used around your artboard. Object > Trim Marks

  • Where the document windows cuts off


  • Crop marks do not replace trim marks created with the Marks & Bleed options in the Print dialog box. Create crop marks around an object In Illustrator, you can create editable trim/crop marks or create crop marks as live effects.'
  • Always use crop marks where the trim is


Adding Crop Marks


SOURCE:
https://tinytutorials.wordpress.com/2011/02/20/adobe-illustrator-cs5-trim-marks-vs-crop-marks/

Print Document Profiles

General

Set the page size and orientation, specify how many pages to print, scale the artwork, specify tiling options and choose which layers to print.
Marks & Bleed

Select printer’s marks and create a bleed.
Output

Create color separations.
Graphics

Set printing options for paths, fonts, PostScript files, gradients, meshes, and blends.
Color Management

Select a color profile and rendering intent for printing.
Advanced

Control the flattening (or possible rasterization) of vector artwork during printing.
Summary

View and save a summary of print settings.

A high line-screen ruling uses small dots; a low screen ruling uses large dots. The most important factor in choosing a line-screen ruling is the type of printing press your job uses. Ask your print shop how fine a line screen its press can hold, and make your choices accordingly.


SOURCE:
https://helpx.adobe.com/illustrator/using/setting-documents-printing.html

Brush Panel - Illustrator

Illustrator has 5 kinds of brushes: 
calligraphic, scatter, art, pattern, and bristle.


Brush types

SOURCE:
https://helpx.adobe.com/illustrator/using/brushes.html

Study Guide for Freelancer Test (general mistakes)

VPAR - Video Ruler Pixel Aspect Ratio

Adobe Bridge - Import files

-rulers are on top and left of artboard

-fill pattern is usually a single tile

Verticle Area Type Tool
Closed paths to vertical containers. enter and edit type with them.

Default artboard size flash catalyst

Crop marks do not replace trim marks created with the Marks & Bleed options in the Print dialog box. Create crop marks around an object In Illustrator, you can create editable trim/crop marks or create crop marks as live effects.

SOURCE:
https://helpx.adobe.com/illustrator/using/specify-crop-marks-trimming-or.html


The Texture effects are raster-based and use the document’s raster effects settings whenever you apply the effect to a vector graphic

Raster effects are effects that generate pixels, rather than vector data. Raster effects include SVG Filters, all of the effects at the bottom section of the Effect menu, and the Drop Shadow, Inner Glow, Outer Glow, and Feather commands in the Effect > Stylize submenu.

The Resolution Independent Effects (RIE) capability in Illustrator makes it possible to do the following:

When the resolution in Document Raster Effects Settings (DRES) changes, the parameters in the effect are interpreted to a different value so that there is minimal or no change in the appearance of the effect. The new modified parameter values are reflected in the Effect dialog box.

For effects with more than one parameter, Illustrator reinterprets only those parameters that are related to the document raster effects resolution setting.

For example, there are different parameters in the Halftone Pattern dialog box. However, only the Size value changes when the DRES changes.

SOURCE:
https://helpx.adobe.com/illustrator/using/effects.html
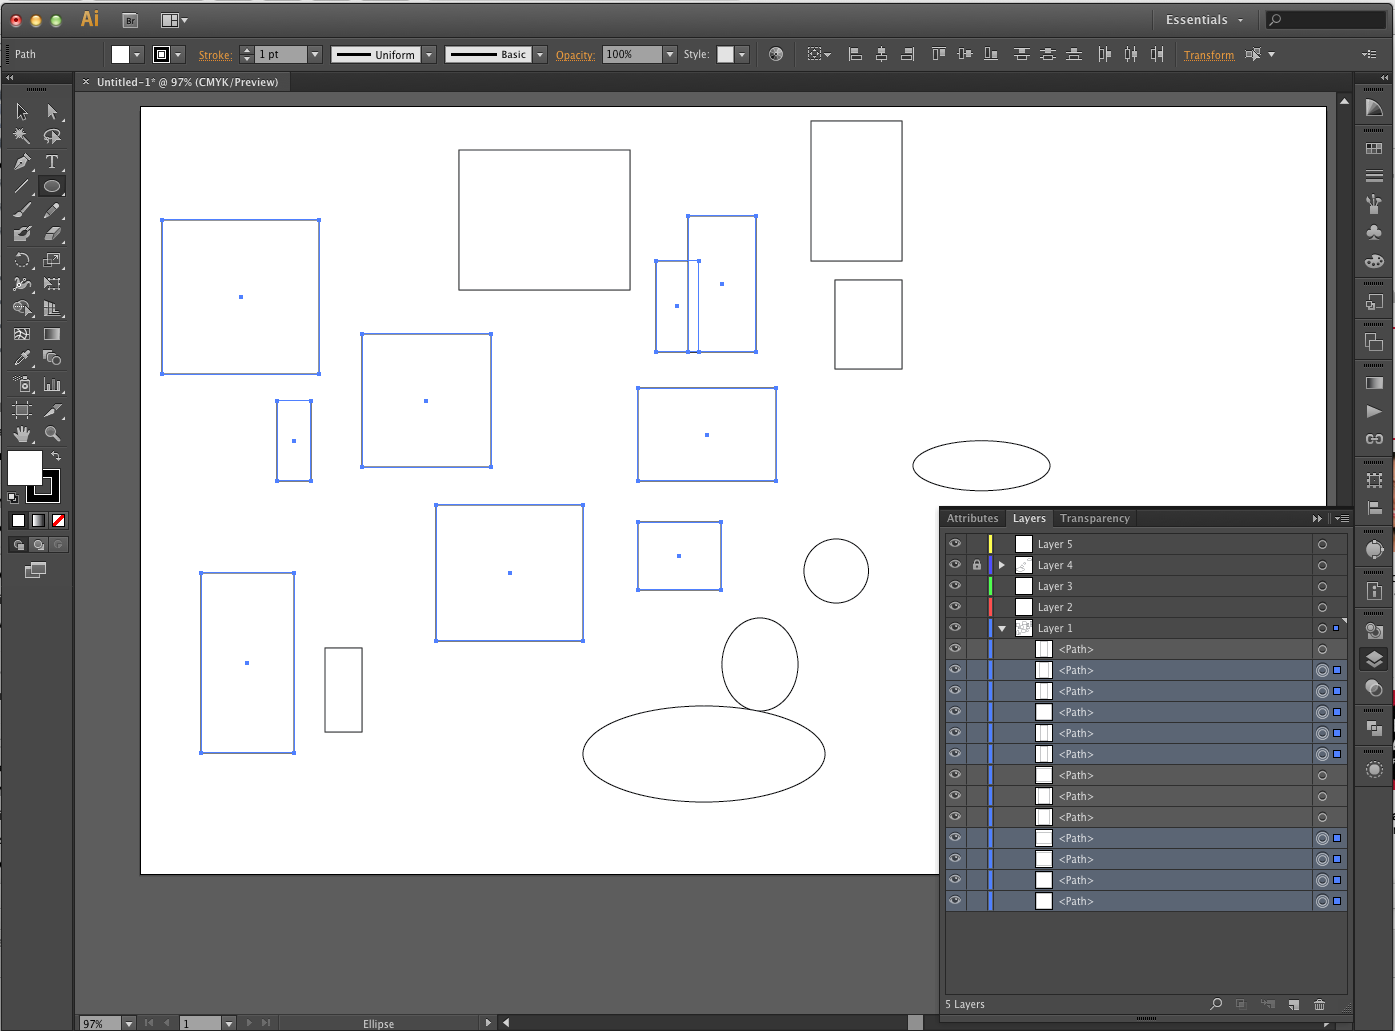
Status Bar
The status bar at the bottom of the Illustrator window has a Zoom menu and also displays a variety of information about your project or your selected tool. On the far left of the status bar, the Zoom percentage pop-up menu allows you to define zoom levels.

-Default resolution for document profile

-Print document, web document, and rgb document are all document profiles

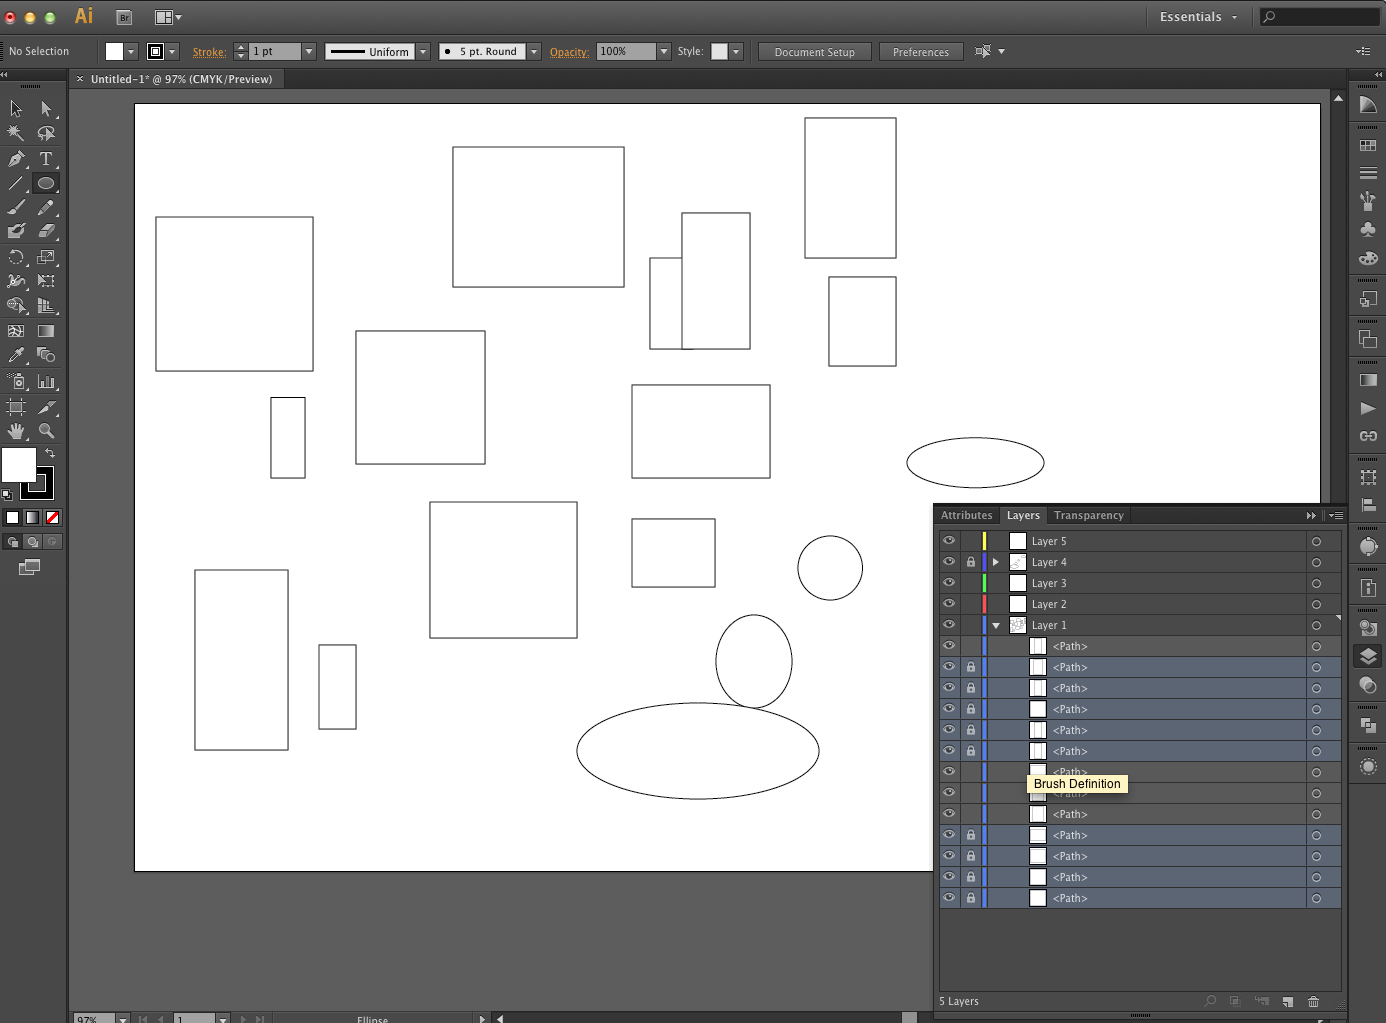
-Panels help you monitor and modify your work. Panels can be grouped, stacked, or docked.

Artboard Panel

Lists the artboards

-No more than 25 in a document

-Files can be rotated to print

-When you divide the artboard into multiple tiles, the pages are numbered from left to right and from top to bottom, starting with page 1.

Warp Tool

Hash object single, multi-colored object

A mesh object is a multicolored object on which colors can flow in different directions and transition smoothly from one point to another.

A symbol set is a group of symbol instances that you create with the Symbol Sprayer tool.

adobe connectnow - Adobe Connect room and can pre-load content into that room. Templates make it incredibly fast and easy to setup new rooms and ensure consistency across an organization


smartguides are on by default

Friday, October 25, 2019

Exercise (10/25/2019)


Practicing doing some things that I've learned about fundamentally.
Clipping masks, blending colors, using symbols panel, saved selections. Trying to be more diverse in using as much as I can to make my workflow more fluent and professional.

Masking

https://www.youtube.com/watch?v=MYnML9PCr9Q


Clipping Mask

-creating clip mask
-filling in background of clip mask
-exiting out of clip mask

Draw Inside

-creating things within clipped mask

Opacity Mask

-using the transparency panel to create dynamic color masks


CTRL+ALT+7 - Find mask

Isometric Grid

show rules
create guide.
alt > arrow-right. repeat at least 20 times.
transform all guides by rotating at 120 degrees. then, "copy"
transform all guides again. then, "copy"

that is the isometric grid.

Slicing


https://www.youtube.com/watch?v=3Z8RpG3v3so


-slices segments individually
-saving each in document

Thursday, October 24, 2019

9-slice scaling

https://creativepro.com/understanding-illustrator-s-9-slice-scaling/

essential for web graphics
9-slice scaling is useful only when applied to symbols that will be viewed with the Flash Player (as SWF).
Since it’s an effect applied in the Flash Player, you won’t be able to preview the result of a 9-slice scale unless you’re viewing your art in the Flash Player.


1. f8 - define a symbol
2. Enable Guides for 9-slice scaling. The symbol must be defined as a Movie Clip (Figure 1).

 you can preview the proper 9-slice scale result by checking Enable Live Preview from the Control menu.


4 guides create 9 different regions on the screen

middle - both horizontally and vertically

upper left, upper right, lower left, lower right are all areas that do not scale at all.

SOURCE:
https://creativepro.com/understanding-illustrator-s-9-slice-scaling/

Wednesday, October 23, 2019

Navigating in Panels - Exercise

-you can dock and stack panel windows
-panels are used modifying, viewing, and changing layers on artboards.

Layer

list of layers

Artboard

list of artboards

Swatch

list of swatches

Tools

list of tools

Symbols

list of symbols


Save Selection Feature - Saves Time

Save Selection put the skill on a different level because marquee-selecting in illustrator, and then, shift+clicking object to combine the selection as a whole can take up loads of time. This save selection feature saves the day for your new professional workflow. This is something that I was looking for in Illustrator for a long time but couldn't find it. This will make it easier to prioritize certain tasks when working on freelance projects.

Caps, joins, and limits


*save selection feature; don't have to worry about marquee-selecting
https://wolfmanartillustrator.blogspot.com/2019/10/save-selection-feature-saves-time.html


-always trying to find what best accommodates the set of characters

Corners Miter join- sharp corner that extends beyond Endpoint
Smooth join - curved
Bevel join- square

Caps
Projected Cap: Square from Endpoint
Round Cap: Round cap at Endpoint.
Butt Cap: wraps around

Blend - Color Spectrum

Blend Tool - Color Spectrum


Select two colors distant from each other.
go to "Blend" and then, select Blend Options to customize the distance of squares.

Creating Line Icons

creating the fill colored line icon using the strokes method

SOURCE:
https://design.tutsplus.com/tutorials/comparing-the-two-methods-for-creating-line-icons-offset-paths-vs-strokes--cms-25134


-Using Strokes to fill lines in.
-Using Offset Path

Miter Limit

Miter Limit:
“The miter limit controls when the program switches from a mitered (pointed) join to a beveled (squared-off) join. The default miter limit is 10, which means that when the length of the point reaches ten times the stroke weight, the program switches from a miter join to a bevel join. A miter limit of 1 results in a bevel join.”

How Offset Paths Work


Miter Limit:
“The miter limit controls when the program switches from a mitered (pointed) join to a beveled (squared-off) join. The default miter limit is 10, which means that when the length of the point reaches ten times the stroke weight, the program switches from a miter join to a bevel join. A miter limit of 1 results in a bevel join.”


SOURCE:
https://design.tutsplus.com/tutorials/comparing-the-two-methods-for-creating-line-icons-offset-paths-vs-strokes--cms-25134

Tools - Panels

The Ruler - measurements

shift+r

Blend - steps in regards to shades of colors, number of lines, etc.

creating a color palette using the blend tool
Blend tool used for creating color palette


Clipping Mask
Object→Clipping Mask→Make

SOURCE:
https://www.dummies.com/software/adobe/illustrator/how-to-create-a-clipping-mask-in-adobe-illustrator-cs6/


The Pathfinder Panel
 Offset Paths

Object > Path


The Artboards Panel -various artboards viewed at the same time.

Layers Panel - view all the layers in your project.

Clipping Mask

Clipping Mask
Object>Clipping Mask>Make
Object>Clipping>Release


Clipping Masks are essential when it comes to confining things into certain outlines.

Hotkey:
ctrl+7 - clipping mask

crop marks for clipping masks
Select crop marks to cut parts of design either making it essential for UI icons or templates for printing.

Tuesday, October 22, 2019

Convert text to Outlines

select text > click type > create outlines

Adding Crop Marks to an image

-select object, effect, crop marks

https://www.youtube.com/watch?v=2aVPqLdcWVE


effect > crop marks

shows where you we will make that crop mark

Illustrator - Flashcards

https://quizlet.com/197853636/adobe-illustrator-exam-flash-cards/

Illustrator - Glossary

Artboard: Canvas in illustrator; workspace
Area Graph Tool: A helpful tool in making a graph conform to a certain area size. In rectangular form, users can specify the area's height and width as well as the graph data.
Arc Tool: Allows the user to make open or closed arcs with the ease of drawing a line segment or polygon. Options including the arc's size and slope are customizable.
Arc Upper: A warp effect that curves the top edge of an object and allows for horizontal or vertical distortion throughout.
Pen Tool: A tool that creates paths made up of points, lines, gradients, and solid shapes.
Blob Brush Tool: A drawing tool that acts like a brush but creates closed filled paths instead of strokes.
Direct Selection Tool: Selects, paths, shapes points, lines, and gradients.
Hand tool: A tool to help navigate around artboard.
Line tool: A tool to simply create a line
Rectangle tool: A tool to simply create a rectangle
Rounded rectangle tool: another tool to create rectangles yet, this one has curved corners.
Brushes Panel: A commonly used panel to add various styles to stroked paths. You can create new brushes in assorted styles (calligraphic, artistic, etc), edit existing brushes, go through downloaded libraries of brushes, and set up your preset brush gallery so it's on hand whenever you need it.
Join Tool
The join tool allows you to take two paths and join them together to create one single path. With the join tool selected, just click and drag a circle around the two end points of the path you want to be connected, and Illustrator will join them together for you.
ReShape Tool
Allows to select more than one point on existing path and move them in the same direction
Shear Tool
Allows you to skew proportions on existing path
Twirl Tool
Allows you to create twirls on existing path
Rotate Tool
Allows you to rotate path
Reflect Tool
Allow you to reflect path
Ellipse Tool
Creating elipses and circles. For perfect circles, shift is held down.
Flare Tool - creates lens flares. i.e. gradients that create tahe look of one.
Polygon Tool - any size shape a polygon


SOURCE:
https://design.tutsplus.com/articles/the-a-to-z-of-adobe-illustrator--vector-20799

Monday, October 21, 2019

Illustrator - Essential Hotkeys

Essential Hotkeys


P - Pen
Ctrl+S - Save document
A - Direct Selection Tool
V - Selection Tool
M - Rectangle Tool
B - Brush
R - Rotate Tool
Shift-E - Eraser
Shift+C - anchor tool
spacebar - hand tool
F5 - Brushes Panel
ctrl+z - undo
shift+ctrl+z - redo
shift+r - ruler
ctrl+7 - clipping mask
ctrl+alt+7 - find mask
ctrl+shift+b - show/hide bounding box
ctrl+7 - clipping mask
ctrl+g - group objects in layer
ctrl+j - join paths

using knife tool
alt+click+drag -straight cut

placing layer
ctrl+[ - move backward
ctrl+] - move forward


CTRL - shows bounding box and live corner controls


Essential Hotkeys for graph data:

A - Entry text box Enter the data
B - Import data. Import data saved as a text file
C - Transpose row/column
Switch the columns and rows of data
D - Switch x/y
Switch the x and u axes of graphs
E - Cell style
Adjust the column width or decimal precision of cells


Modified Shortcut:
9-slice make -

Knife Tool

https://www.youtube.com/watch?v=ZZMHTf8N4eY


-direct selection tool > select shape
-knife tool > cut through shape

objects separated

-knife tool - alt+click+drag
straight cut

Illustrator - Resolution-Independent Images

-Illustrator allows you to create resolution-independent images
-Vector Images


what is a vector image?

a vector image is a type of image that is based upon mathematical equations to create high quality resolution for whatever size you may want


monitor - rgb
printer - cmyk

Live Paint - Illustrator

https://www.youtube.com/watch?v=8oSAdMxxWzc


-Allows you to fill specific areas different colors
-Live Gap options - fills in gaps that should be filled. Automates filling in lines.


select shape > live paint

live gap tool - window > live paint > live gap

options:
small
medium
large

Direct Selection Tool - Illustrator

-Allows the selection of individual points.
-The Direct-Selection tool and Lasso tool let you select a single path or object that is part of one group or several groups.